How to Configure ElasticSearch and Speed Up WordPress. In this guide you going to learn how to install ElasticSearch and configure it with your WordPress and optimize the search queries using ElasticPress WordPress plugin.
If your site is having more search queries then you should consider using a search engine for your site. ElasticSearch is a full-text search engine which indexes your data and searches them very quickly.
This setup is tested on Google Cloud and AWS. So, you can use this guide to setup ElasticSearch on any VPS or any other cloud or any dedicated servers.
Prerequisites for AWS
- A running EC2 Instance. Learn how to create an AWS EC2 instance.
- Assigned a Elastic IP to your EC2 Instance.
- Setup and configure Route 53 and point your domain to AWS.
- Successful SSH connection to your EC2 Instance.
- Make sure your machine has a minimum requirement of 3 GB RAM
SSH to your EC2 Instance and perform the steps listed below.
Configure Firewall
Elasticsearch runs on port 9200, so it is necessary to open this port for the setup to work.
Go to your Security group and create a rule to allow connections from your IP address on this port.
If you have configured UFW on your server, you need to add rule on this too.
sudo ufw allow from IP_ADDRESS to any port 9200
Make sure to update the IP_ ADDRESS with your server’s public IP.
Install Java
Java is necessary to install ElasticSearch. Install Java JDK using the following command.
sudo apt install openjdk-8-jdk
Configure Java Envitonment variable
Use the update-alternatives command to get the installation path of your Java version.
sudo update-alternatives --config java
OpenJDK 8 is located at /usr/lib/jvm/java-8-openjdk-amd64/jre/bin/java
Copy the installation path of your default version and add it in the JAVA_HOME environment variable.
sudo nano /etc/environment
At the end of this file, add the following line with your installation path. To use the official Java 8 by Oracle the variable will be as follows.
JAVA_HOME="/usr/lib/jvm/java-8-openjdk-amd64/jre/bin/java"
Hit Ctrl+X followed by Y and Enter to save and exit the nano editor.
Now JAVA_HOME environment variable is set and available for all users.
Reload to apply changes.
source /etc/environment
To verify the environment variable of Java
echo $JAVA_HOME
You will get the installation path you just set.
Now Java is successfully installed and you can install Elasticsearch.
Install ElasticSearch
Import ElasticSearch repository’s GPG key.
wget -qO - https://artifacts.elastic.co/GPG-KEY-elasticsearch | sudo apt-key add -
Add the repository to the sources list of your Ubuntu server or system.
echo "deb https://artifacts.elastic.co/packages/7.x/apt stable main" | sudo tee -a /etc/apt/sources.list.d/elastic-7.x.list
Update the package list and install ElasticSearch.
sudo apt update
sudo apt install elasticsearch
Once Elasticsearch is installed you can restrict port 9200 from outside access by editing the elasticsearch.yml file and uncomment the network.host and replace the value with localhost.
sudo nano /etc/elasticsearch/elasticsearch.yml
So it looks looks like this..
network.host: localhost
Hit Ctrl+X followed by Y and Enter to save the file and exit.
Now start and enable Elasticsearch on server boot.
sudo systemctl start elasticsearch
sudo systemctl enable elasticsearch
Now make sure your Elasticsearch service is running.
sudo systemctl status elasticsearch
Test your installation by sending a HTTP request.
curl -X GET "localhost:9200"
You will get a response with name, cluster_name, cluster_uuid, version.
Configure WordPress

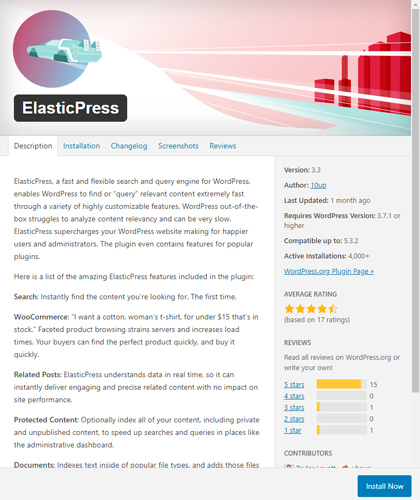
Login to your WordPress admin and go to Plugins >> Add new, search for ElasticPress and install it and activate.
Once activated go to ElasticPress >> Settings and add the Elasticsearch URL (http://localhost:9200) and save the settings.

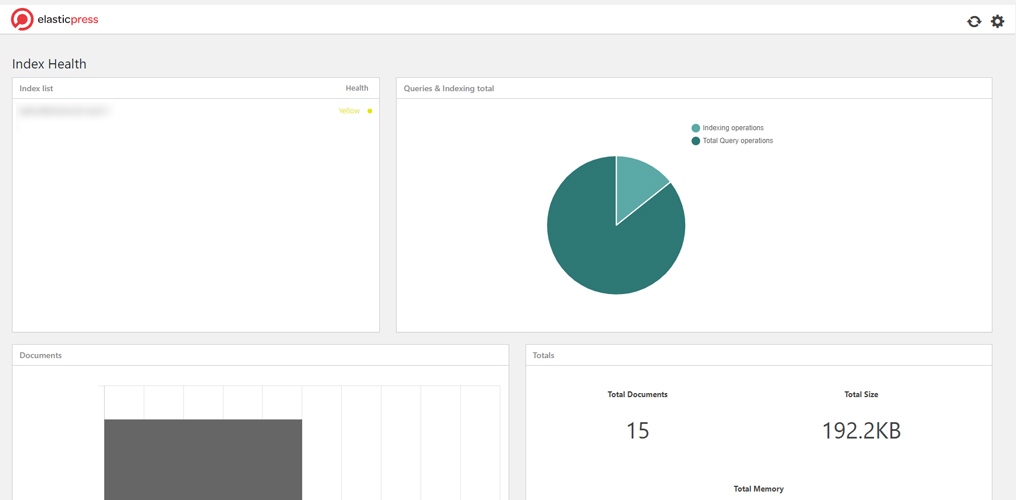
Once the settings are saved click the sync icon on the top tight near the gear icon to sync the content. Next you can view the Index health of your setup.

Now you have configured Elasticsearh on your WordPress website to speed up search queries.
Learn the most Advanced Techniques of WordPress with this easy to learn course now.
Conclusion
Now you have learned how to install and configure ElasticSearch for your WordPress website
Thanks for your time. If you face any problem or any feedback, please leave a comment below.


Leave a Reply
You must be logged in to post a comment.