Install Ruby on Rails on Google Cloud with Ubuntu 18.04 Passenger and Nginx. Ruby on Rails framework has a builtin server which runs on port 3000 with rails server command. This is not an application server but a wrapper to launch your application on an application server. So you cannot use rails server on the production environment. Here comes the Passenger which is an application server built by Phusion Passenger.
Nginx is a web server which can provide HTTP transactions and serve static files but cannot run Ruby applications directly.
Application servers like Passenger make it possible for Ruby applications to speak HTTP as Ruby apps cannot do it by themselves. On the other hand application servers are not that good in handling HTTP requests as Nginx. This is why application servers are used with web servers in the production environment.
In this guide, you are going to learn how to install Ruby on Rails and set up an application server (Passenger) and a web server (Nginx) on Google Compute Engine.
Prerequisites
- For setting up Compute Engine, see the Setting up Compute Engine Instance.
- Domain name is pointed to your virtual machine.
- For setting up Cloud DNS, see the Setting up Google Cloud DNS for your domain.
- Google Cloud SQL Setup, see Setup Cloud SQL and connect with Compute Engine.
Install Ruby on Rails with RVM
SSH to your Compute Engine Instance and execute the following commands to install RVM. Replace username with your username
curl -sSL https://get.rvm.io | bash
source /home/username/.rvm/scripts/rvm
Install Dependencies
rvm requirements
Wait for the dependencies installation to complete
Install Ruby
Once RVM and dependencies are installed successfully you can install Ruby with RVM.
rvm install ruby
rvm --default use ruby
ruby -v
Bundler is a tool that manages gem dependencies for all projects. Install the Bundler gem next as Rails depends on it.
gem install bundler
Install Nodejs, ImageMagick, MySQL Client, and some required packages
sudo apt-get install -y nodejs imagemagick libcurl4-openssl-dev mysql-client libmysqlclient-dev
Install Rails
gem install rails
rails -v
Now install MySQL adapter for Rails
gem install mysql2
Create a new Rails project
rails new myproject -d mysql
cd myproject
Edit the database configuration to connect to Cloud SQL
sudo nano config/database.yml
Replace the username with your username, password with your password, host with your Cloud SQL IP address
Make sure your database.yml looks like this
default: &default
  adapter: mysql2
  encoding: utf8
  pool: <%= ENV.fetch("RAILS_MAX_THREADS") { 5 } %>
  username: username
  password: password
  host: Cloud_SQL_IP_Address
  database: database_name

development:
  <<: *default

test:
  <<: *default

production:
  <<: *default
Install Passenger and Nginx
sudo apt-key adv --keyserver hkp://keyserver.ubuntu.com:80 --recv-keys 561F9B9CAC40B2F7
sudo apt-get install -y apt-transport-https ca-certificates
sudo sh -c 'echo deb https://oss-binaries.phusionpassenger.com/apt/passenger bionic main > /etc/apt/sources.list.d/passenger.list'
sudo apt-get update
sudo apt-get install -y nginx-extras libnginx-mod-http-passenger
if [ ! -f /etc/nginx/modules-enabled/50-mod-http-passenger.conf ]; then sudo ln -s /usr/share/nginx/modules-available/mod-http-passenger.load /etc/nginx/modules-enabled/50-mod-http-passenger.conf ; fi
sudo ls /etc/nginx/conf.d/mod-http-passenger.conf
sudo service nginx start
Now Passenger and Nginx are installed successfully. You can visit your domain name in your web browser, you can see the Nginx welcome page.
Nginx Configurations for Ruby on Rails
Now you need to update the Nginx configuration to point Passenger to the version of Ruby you are using.
sudo nano /etc/nginx/conf.d/mod-http-passenger.conf
Replace
passenger_ruby /usr/bin/passenger_free_ruby;
with
passenger_ruby /home/username/.rvm/wrappers/ruby-2.5.3/ruby;
Remove default Nginx configurations
sudo rm -rf /etc/nginx/sites-available/default
sudo rm -rf /etc/nginx/sites-enabled/default
Create a new configuration for your Ruby application
sudo nano /etc/nginx/sites-available/yourdomainname.com
Paste this new configuration setting and hit Ctrl+X followed by Y to save the file
server {
    listen 80 default_server;
    server_name yourdomainname.com;

    passenger_enabled on;
    passenger_app_env production;

    root /home/username/myproject/public;
}
Enable your new configuration
sudo ln -s /etc/nginx/sites-available/yourdomainname.com /etc/nginx/sites-enabled/
Validate Nginx configuration and restart nginx
sudo nginx -t
sudo service nginx restart
Now Ruby on Rails is installed and configured with Passenger and Nginx and connected with Cloud SQL on Google Cloud.
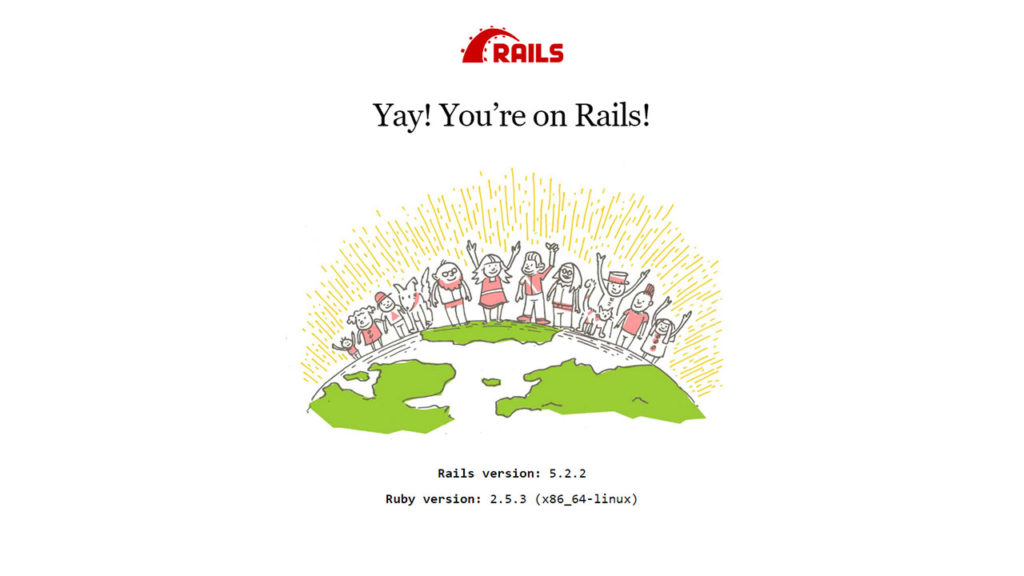
Visit your domain name on your browser, you can view the Ruby on Rails welcome page.

Enjoy your installation of Ruby on Rails on Google Cloud with Cloud SQL with Passenger and Nginx
Leave a Reply
You must be logged in to post a comment.