Install Bolt CMS on Ubuntu 18.04 with Nginx on Google Cloud Platform. This guide helps to install and run Bolt CMS on Google Compute Engine and connect with Cloud SQL.
This setup is tested on Google Cloud Platform, it will also work fine on other cloud serveices and on any VPS or Dedicated servers running Ubuntu.
Prerequisites
- A running Compute Engine, see the Setting up Compute Engine Instance with Ubuntu 18.04
- Initial Ubuntu Server Set up.
- Install LEMP stack on Ubuntu in Google Cloud.
- A running Cloud SQL instance, see How to set up Cloud SQL in Google Cloud
With the above-completed prerequisites, I assume you have your Nginx, PHP installed and Cloud SQL is configured.
Install Required PHP Extensions
sudo apt install php7.3-intl
Set up your Website Directory
Your website will be located in the home directory and have the following structure
Replace yourdomainname.com with your original domain name.
home
 -- yourdomainname.com
 ---- logs
 ---- public
The public directory is your website’s root directory and logs directory for your error logs
Now we create these directories and set correct permissions
You need to SSH into your VM Instance and run these commands
mkdir -p yourdomainname.com/logs yourdomainname.com/public
sudo chmod -R 755 yourdomainname.com
Configure Nginx
Create a new Nginx configuration for your website in the sites-available directory.
sudo nano /etc/nginx/sites-available/yourdomainname.com
Copy and paste the following configuration, ensure that you change the server_name, error_log and root directives to match your domain name. Hit CTRL+X followed by Y to save the changes.
 server {
     listen 80;
     listen [::]:80;
     server_name yourdomainname.com www.yourdomainname.com;

     error_log /home/username/yourdomainname.com/logs/error.log;

     root /home/username/yourdomainname.com/public/;
     index index.html index.php;

     location / {
         try_files $uri $uri/ /index.php?$query_string;
     }

     location = /bolt {
         try_files $uri /index.php?$query_string;
     }

     location ^~ /bolt/ {
         try_files $uri /index.php?$query_string;
     }

     location ^~ /thumbs {
         try_files $uri /index.php; #?$query_string;
         access_log off;
         log_not_found off;
         expires max;
         add_header Pragma public;
         add_header Cache-Control "public, mustrevalidate, proxy-revalidate";
         add_header X-Koala-Status sleeping;
     }

     location ~* ^.+.(?:atom|bmp|bz2|css|doc|eot|exe|gif|gz|ico|jpe?g|jpeg|jpg|js|map|mid|midi|mp4|ogg|ogv|otf|png|ppt|rar|rtf|svg|svgz|tar|tgz|ttf|wav|woff|xls|zip)$ {
         access_log off;
         log_not_found off;
         expires max;
         add_header Pragma public;
         add_header Cache-Control "public, mustrevalidate, proxy-revalidate";
         add_header X-Koala-Status eating;
     }

     location = /(?:favicon.ico|robots.txt) {
         log_not_found off;
         access_log off;
     }

     location ~ /index.php/(.*) {
         rewrite ^/index.php/(.*) /$1 permanent;
     }

     location ~ /. {
         deny all;
     }

     location ~ /.(htaccess|htpasswd)$ {
         deny all;
     }

     location ~ /.(?:db)$ {
         deny all;
     }

     location ~* /(.*).(?:markdown|md|twig|yaml|yml)$ {
         deny all;
     }

     location ~ .php$ {
         try_files $uri =404;
         fastcgi_split_path_info ^(.+.php)(/.+)$;
         fastcgi_pass unix:/run/php/php7.3-fpm.sock;
         fastcgi_index index.php;
         include fastcgi_params;
     }
}
Hit Ctrl+X followed by Y and Enter to save the file and exit.
To enable this newly created website configuration, symlink the file that you just created into sites-enabled
sudo ln -s /etc/nginx/sites-available/yourdomainname.com /etc/nginx/sites-enabled/yourdomainname.com
Check your configuration and restart Nginx for the changes to take effect.
sudo nginx -t
sudo service nginx restart
Download Bolt CMS
Navigate into your root directory.
cd ~/home/username/yourdomainame.com/public
Download the latest version of Bolt CMS.
curl -O https://bolt.cm/distribution/bolt-latest.tar.gz
tar -xzf bolt-latest.tar.gz --strip-components=1
Once Bolt is downloaded you need to set up correct permissions.
Set Up Permissions
To give Bolt write access to these files you have to use the chmod command.
chmod -R 777 app/cache/ app/config/ app/database/ extensions/
chmod -R 777 public/thumbs/ public/extensions/ public/files/ public/theme/
Set Up Database Configurations
By default Bolt is configured to use SQLite, so we can change it to use MySQL database in the app/config/config.yml file and connect it to Cloud SQL.
sudo nano ~/yourdomainname.com/public/app/config/config.yml
Edit the database section and r
- driver with
mysql - host with your
Cloud SQL IP Address - databasename with
Cloud SQL database name - username with
Cloud SQL user name - password with your
password - prefix with your
database prefix
Your details will look something similar to the one below.
database:
     driver: mysql
     username: USERNAME
     password: PASSWORD
     databasename: DATABASE_NAME
     host: CLOUD_SQL_IP_ADDRESS
     prefix: prefix_
Verify Set Up and Install
Once everything is in place visit your domain name in your browser.
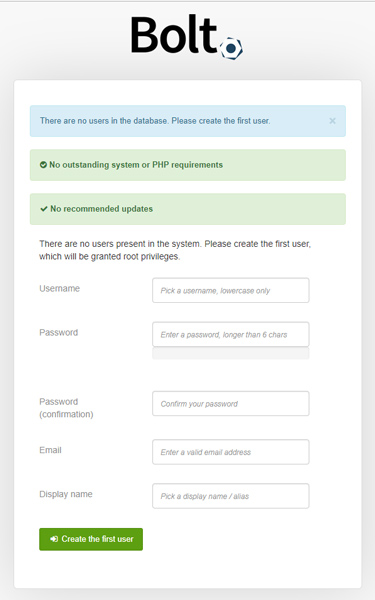
Now you need to create the default user.

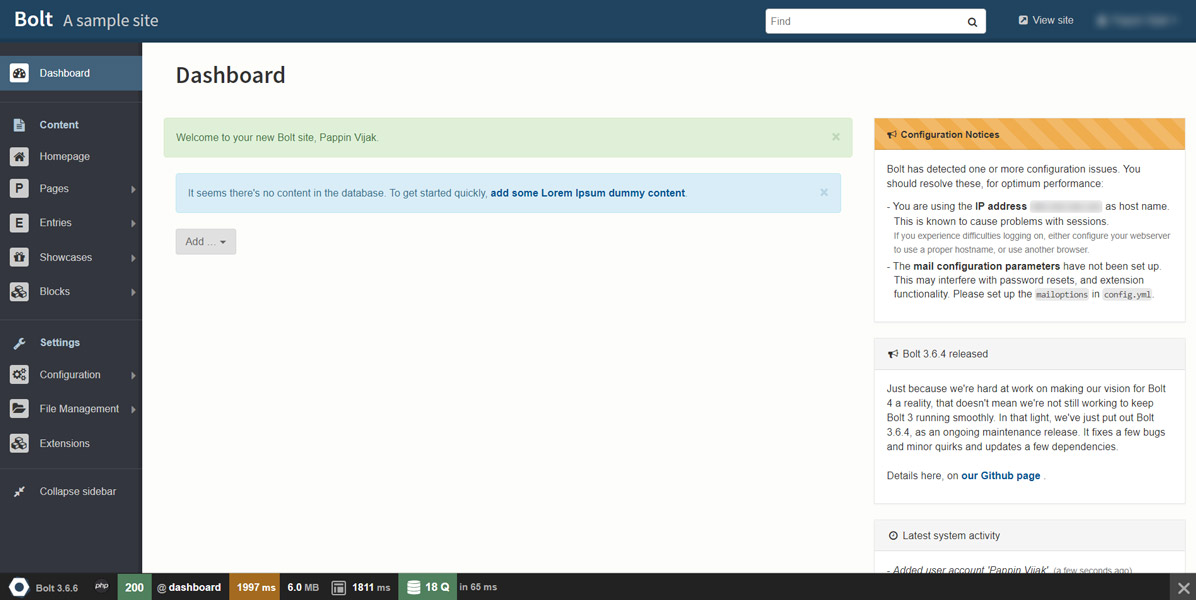
Follow the on screen instructions and enjoy using Bolt CMS on Google Cloud.

Conclusion
Now you have learned how to install Bolt CMS on your Ubuntu server with Nginx in Google Cloud.
Thanks for your time. If you face any problem or any feedback, please leave a comment below.
Leave a Reply
You must be logged in to post a comment.