Install LiteSpeed on Ubuntu 18.04 – Google Cloud. In this guide you are going to learn how to install LiteSpeed web server on a virtual machine and configure firewall ports and update the default LiteSpeed port.
This setup is tested on Google Compute Engine VM Instance with Ubuntu 18.04, so this tutorial will work on any cloud hosting like AWS, Azure, DigitalOcean or any VPS or Dedicated servers.
Prerequisites
- A Ubuntu server set up
with sudoprivileges . - Completed the initial Ubuntu server setup.
If you are using Google Cloud Platform to install PHP you need the following steps to be done.
- A running Compute Engine, see the Setting up Compute Engine Instance with Ubuntu 18.04.
Enable LiteSpeed Repo
OpenLiteSpeed provides a repository which can be used to install the web server easily using the default apt command.
Download the software signing key.
wget -qO - https://rpms.litespeedtech.com/debian/lst_repo.gpg | sudo apt-key add -
Now, add the repository to the server using add-apt
sudo add-apt-repository 'deb http://rpms.litespeedtech.com/debian/ bionic main'
Once the repository is add LiteSpeed will be available to install directly.
Install LiteSpeed Web Server
Here you can install LiteSpeed and it’s PHP processor.
sudo apt install openlitespeed lsphp73
Once the installation is completed you need the create a soft link for PHP processor we installed to use the correct version.
sudo ln -sf /usr/local/lsws/lsphp73/bin/lsphp /usr/local/lsws/fcgi-bin/lsphp5
Now LiteSpeed is installed and ready to be configured.
Configure Admin Password
By default LiteSpeed will have the username as admin and password as 123456. So we need to change those default values.
sudo /usr/local/lsws/admin/misc/admpass.sh
With this script you can configure a new username and password.
Once you have created new credentials you will get an output similar to this.
Output
Administrator's username/password is updated successfully!
Verify LiteSpeed Installation
You can check the status of the web server using the following command.
sudo /usr/local/lsws/bin/lswsctrl status
Output
litespeed is running with PID 26920.
This indicates LiteSpeed is up and running.
If your web server hasn’t started you can start it using the following command.
sudo /usr/local/lsws/bin/lswsctrl start
Configure Firewall
By default LiteSpeed admin runs on port 7080 and the main page loads on 8088. We will configure Litespeed to use the default http port 80 instead of 8088. so we don’t have to open the port 8088.
sudo ufw allow 80
sudo ufw allow 7080
If you are on Google Cloud or AWS or Azure or DigitalOcean, you need to setup these two ports to allow connections.
Now go to your browser and check the admin interface using your IP add followed by port 7080.
https://External_IP:7080

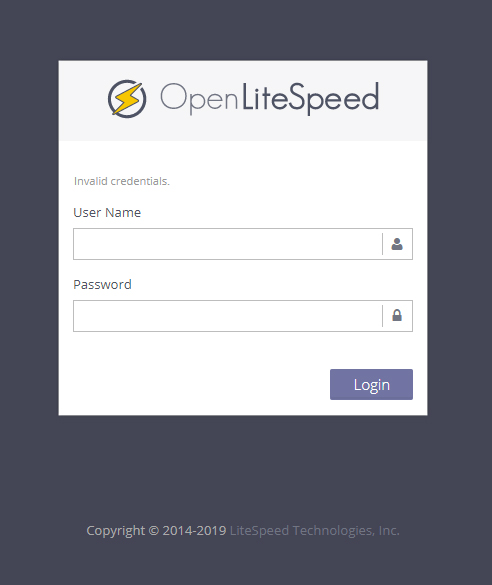
Use the username and password you configured before to login.
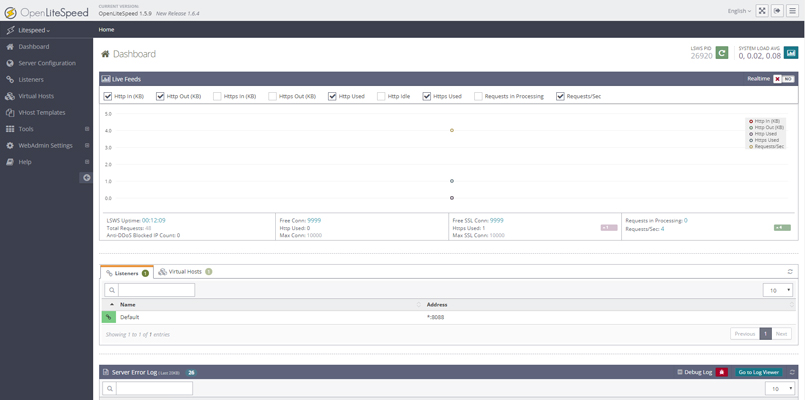
Once logged in you will see the LiteSpeed dashboard.

Configure Port for Default page
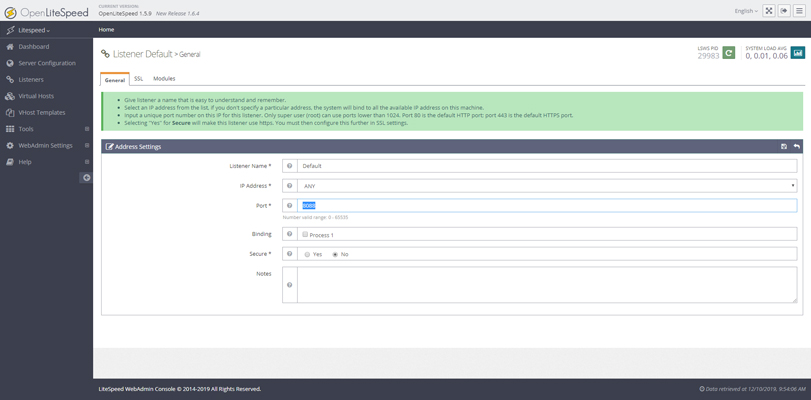
To make the server listen on standard http port, go to Listeners in the menu and click view.
Now Edit the Address Settings to modify the value of 8088 to 80.

Change the Port value to 80 and save the configuration.
Once done restart the LiteSpeed web server for the changes to take effect.
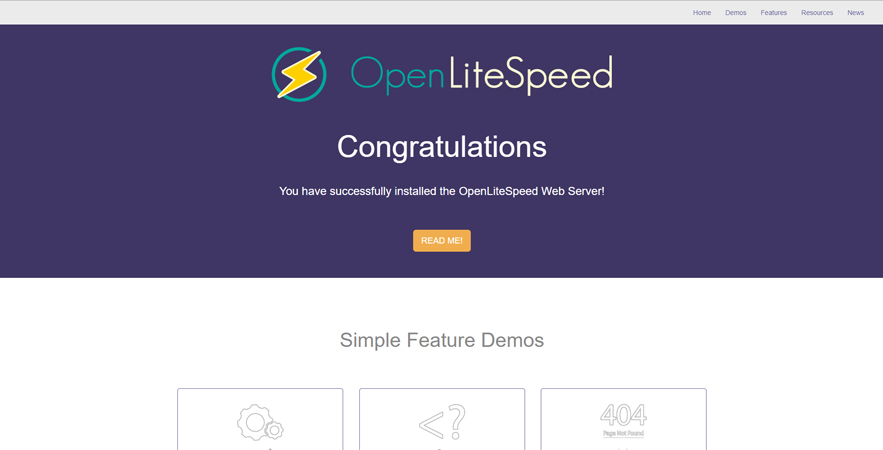
Once the server is restarted you can view the default web page with your IP address.
https://External_IP

Prepare yourself for a role working as an Information Technology Professional with Linux operating system
Conclusion
Now you have learned how to install LiteSpeed web server and configure it on your VM instance on Google Cloud Platform.
Thanks for your time. If you face any problem or any feedback, please leave a comment below.
Leave a Reply
You must be logged in to post a comment.