Deploy a Node.js Serverless Function in Minutes with Google Cloud. This post describes how to create a Cloud Function with Node.js on Google Cloud Platform.
Prerequisites
- A Google Cloud Account with a project and billing enabled.
Benefits of a serverless function
- The code itself can be directly deployed in an isolated cloud function.
- The function resources scales automatically during high traffic.
- The function is highly available because it is a managed service.
- You only pay for what you use. If the function is not used, the cost is zero.
Deploy a Cloud Function
A Cloud Function can be deployed in different methods using the Google Cloud Console –
Here, we will use the Google Cloud Console UI to deploy a Node.js v8 based Cloud Function.
Create a Cloud Function
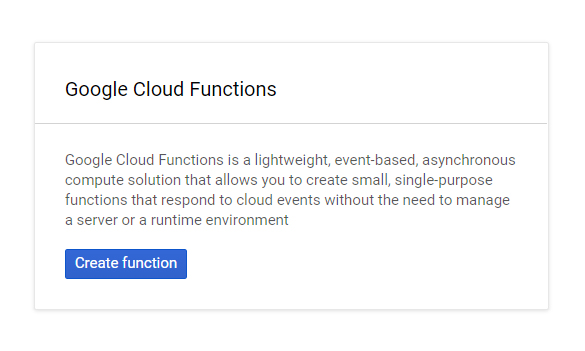
Go to your Google Cloud Console and navigate to Compute >> Cloud Functions. Now the API will get initialized if you are using this service for the first time.

Click Create Function.
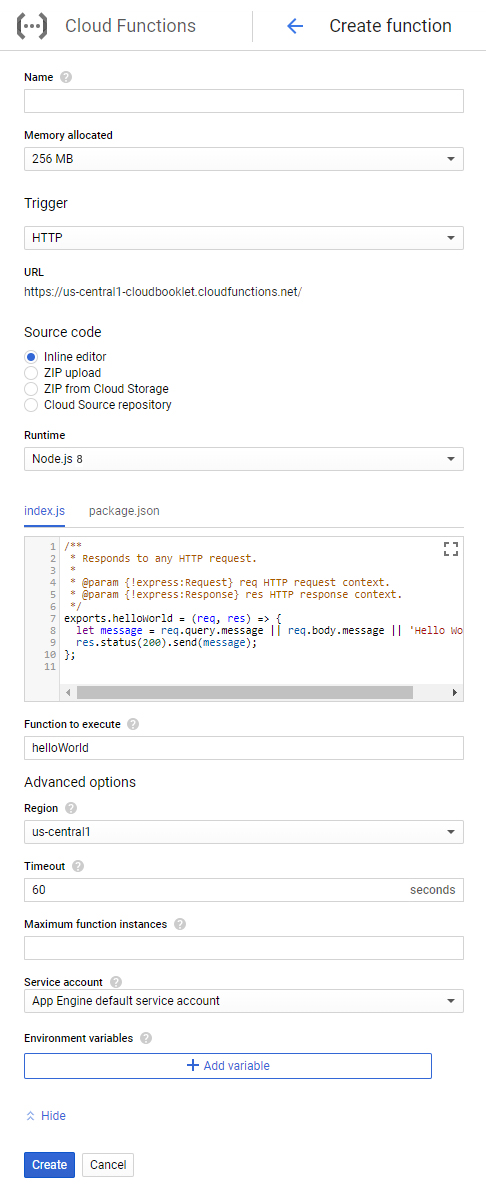
Now a can specify all details of your function in this layout.

- In Name, specify the name for your function
- In Memory allocated, you can choose from different memory options
128 MB, 256 MB, 512 MB, 1 GB, 2 GB - In Trigger, you can choose from different types, for this tutorial you will use
HTTP - In Runtime, choose Node.js 8.
- In the Editor, you can place your custom program which gets executed with by provided URL. By default, the function will show the Hello World! output when executed.
- In Advanced options, you can set up
your Region, Timeoutand other options for your function.
Click Create.
Now, your function will get deployed and ready to be used.

Verify the Function
Once your function is deployed, click your function to view the details of your deployment.
Here, in the Trigger serction you can view the URL to verify your Cloud Function.
Click the URL to see the output of your function. You will see the Hello World! output.
If you add a prefix to your URL with something like ?message=your_message
You can use this service for various activities like sending emails, upload objects to Cloud Storage, Import data to BigQuery and many more.
Click View Logs on the menu to view the function execution logs.
Conclusion
Now you have learned how to depoy a serverless Node.js function on Google Cloud Platform.
Thanks for your time. If you face any problem or any feedback, please leave a comment below.
Leave a Reply
You must be logged in to post a comment.